Cabinet redo,.....do,do,do something with it!
I originally purchased this at an estate sale for my horrid bathroom, but it just cluttered up the wall space in my teeny, tiny 1960's bathroom. Have a look here at my horrid, shameful bathroom. I just re-read my own post from a gazillion years ago and I still have not finished those tiles. sigh! so much to do and no time to finish. Well I finished this project! pat,pat,pat on the back.


My before shots were taken in the cold spring time weather.
I still have my winter coat on; seen in the mirror.
Too bad I couldn't find a spot for it anywhere, because it is a cute piece.
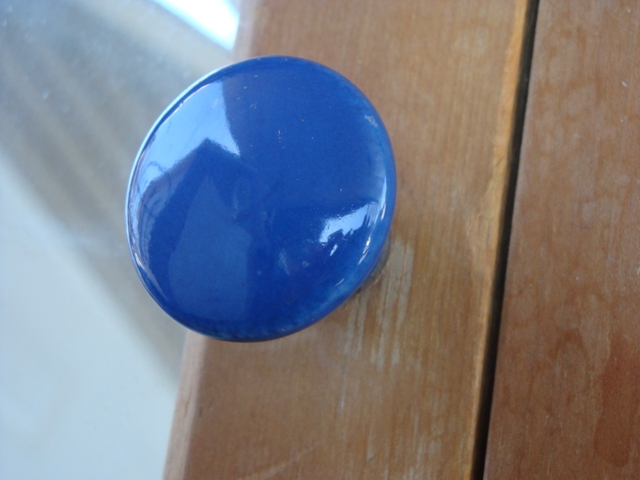
Can you "handle" this eyesore!
..It's about time I did something with this cute little piece no? Here is the work in progress.
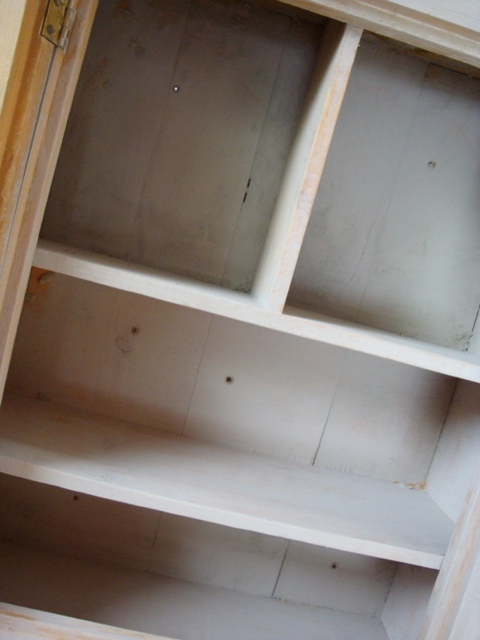
The interior was in rough shape. It required a lot of sanding. Some sort of wood filler was used and hardened unevenly. (as seen in the photo below)
bad, bad ...more work to sand!

I used 3 coats of latex paint to cover the inside. Wish I had a can of Annie Sloan chalk paint!!!!! Just putting it out there again! It has been really difficult to get my hands on it. I was given a very small sample from a friend of mine to test. I just loved it.
This piece has great bones to work with.
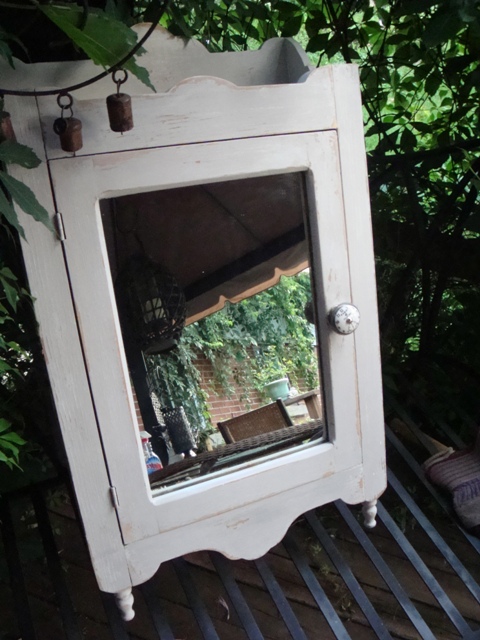
VOILA! Finished....the final touch. My pics are not clear it was getting dark out. A big rainstorm ensued after my little photo shoot.
I changed "the eyesore" for something a little more unusual
I distressed the cabinet, not too much... just a little bit, as they say!
I used a french grey as a base coat. Very light dry brush stokes of pure white over the grey. This gave it a well worn out look.
You can clearly see the 2 paint colors in the photo above and below.
I think it turned out lovely and is looking very old indeed. That is the point! The inside was the toughest challenge, but I achieved a very even surface with all my efforts and good old fashion elbow grease.
Here is a closer look at the bottom portion.
More knobbieness love!
Simply just more love....I can't part with it! boohoo!
I think I may try and find a place for it in my home. I just love how it turned out. :( Or maybe NOT! It still doesn't fit in my bathroom, fat chance!
This piece is available for sale on my Etsy Vintage shop.
For those of you who live locally you can view this piece or purchase it at:
SOKO INC.
319 Lakeshore rd (chemin bord du lac)
Pointe-Claire village, QC
514-697-7656
$ 220.00
Quebec pine antique
* mention this post and receive a 10% discount on the purchase of this item only*
My words of inspiration for the day!
All mankind is divided into three classes: those that are immovable, those that are movable, and those that move.
Keep coming back. Look what else I am working on....
Your comments are my inspiration. Have a good one!
Caroline
xx
Linking to the following parties:

.JPG)
.jpg)
very cute! thanks for partying with me! i'm your newest follower!
ReplyDeleteThis turned out beautiful! I love the color, just the right amount of distressing, and especially the knob! Great job!
ReplyDeleteso cute!!! the color and hardware totally make it! wonderful makeover!
ReplyDeleteSweet handle and a very nice job. I have something similar but simpler from my Nan's laundry- it now takes pride as a spice rack in my kitchen.
ReplyDeleteWow! What a gorgeous cabinet. I love those little feet and the knob is perfect. You did a great job with the transformation. I know what you mean....I have so many projects and so little time to work on them. Better late than never, right?
ReplyDeleteThat ids too cute...I wouldn't give it up if I were you!! :)
ReplyDeleteDenise
I'm in love with that knob!
ReplyDeleteThis turned out great! The knob is adorable!
ReplyDeleteWhat a transformation - it's really beautiful and I love the pretty/whimsical new knob :)
ReplyDelete